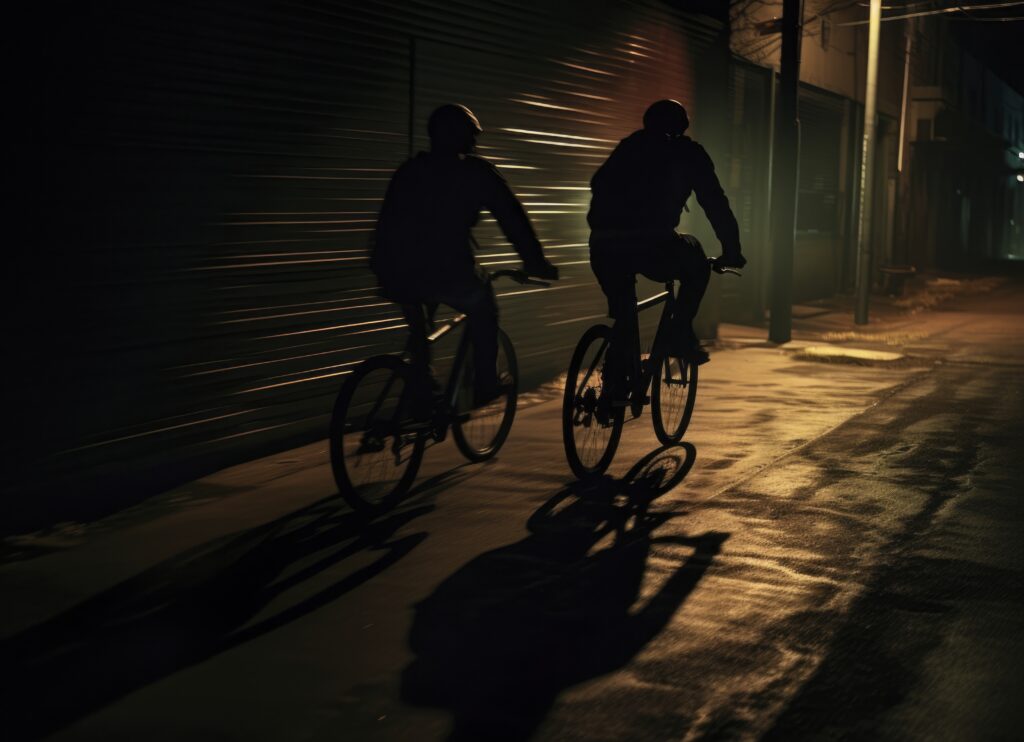
Cycling is often a serious business in London. We’re navigating traffic, timing our commutes down to the second, and constantly checking the weather app for that inevitable afternoon drizzle. But every so often whether it’s for a Halloween night ride, a local festival, or a festive Christmas parade we get the urge to transform our two wheeled companions into something a bit more magical. There is a genuine joy in seeing a bicycle covered in fairy lights or trailing colorful streamers. However, as any experienced mechanic will tell you, a bicycle is essentially a series of high speed, exposed gears and spinning blades. What starts as a whimsical Skeleton Ride Along can quickly turn into a mechanical nightmare if a stray ribbon decides to introduce itself to your drivetrain. If you’re planning on decking out your ride, you don’t have to sacrifice style for safety. Here is your comprehensive guide to ensuring your decorations stay on the frame and out of the spokes.
The Golden Rule: The Ziptie and Snip Method
Before we get into the specifics of what to put on your bike, we need to talk about how to attach it. Forget about tape, and definitely forget about string or twine. Tape loses its stickiness the moment it gets wet or cold, and string has a nasty habit of fraying and dangling. The humble zip tie (cable tie) is your best friend. They are cheap, incredibly strong, and they don’t budge. When attaching lights or garlands to your frame, use more zip ties than you think you need. Once they are tight, use a pair of side cutters or heavy scissors to snip the tail off flush. Leaving those sharp plastic tails sticking out is a great way to end up with dozens of tiny scratches on your legs by the end of the night.
Mind the Danger Zones
When you look at your bike, you should see three Danger Zones where decorations are strictly forbidden: the braking surfaces, the drivetrain, and the spokes. The drivetrain is the most sensitive. This includes your chain, your front chainrings, and your rear cassette. If a piece of fabric or a loose wire gets caught in the chain, it won’t just stop the bike it can actually bend your derailleur hanger or snap your chain. This is why you should always keep decorations at least three inches away from the moving parts of the right side of your bike. The braking surfaces are equally critical. If you have rim brakes where the pads grip the metal edge of the wheel, that rim must remain perfectly clean. One stray piece of tinsel getting caught between the pad and the rim can cause you to lose braking power instantly. If you have disc brakes, keep your fingers and your decorations far away from the rotors, as they can become incredibly hot and will shred anything that touches them.
Lighting Up Without the Tangels
Battery powered LED fairy lights are the most popular way to decorate a bike, but they come with long, thin wires that are prime candidates for getting tangled. The trick here is The Spiral Wrap. Start at the headtube the front of the frame and wrap the wire tightly around the top tube or the down tube. Never let the wire bridge a gap between two parts of the bike that move independently for example, don’t wrap a wire from your handlebars directly to your frame. If you turn the handlebars, the wire will either snap or pull your steering to one side. Instead, leave enough slack loop at the steering column to allow for a full range of motion, and secure that loop with a zip tie so it can’t flop into the wheel.
The Rear Rack: A Stage for Creativity
If you want to go big like mounting a plastic skeleton, a giant pumpkin, or a crate of flowers the rear rack is your safest bet. It is the most stable part of the bike and is far enough away from your steering to keep the bike balanced. When mounting a passenger like a skeleton, don’t just sit it on the rack. You need to secure it at multiple points: the spine to the rack, the hips to the supports, and the feet to the side stays. If a skeleton’s foot dangles just a few inches to the left, it’s going straight into your spokes. This creates a playing card in the spokes sound at best, and a total wheel lock up at worst. Use rigid supports, like PVC pipe or wooden dowels, to keep any large decorations upright and immobile.
Streamers and Flags: The Wind Factor
We all love the retro look of handlebar streamers, but remember that London is a windy city. At 15 miles per hour, a long, flowing ribbon behaves differently than it does in your living room. If you are using ribbons or streamers, keep them short. A good rule of thumb is that they should be no longer than the distance from your grip to the center of your handlebar. This ensures that even if the wind blows them backward, they won’t be long enough to reach the front brake calipers or get sucked into the front tire’s tread.
Testing the Full Rotation
Once you think you’re finished decorating, don’t just jump on and ride. You need to perform a static rotation test. Lift the front of the bike and spin the wheel fully. Listen for any clicking or brushing sounds. Then, do the same for the back wheel while slowly turning the pedals by hand. Finally, turn the handlebars all the way to the left and all the way to the right. If you feel any resistance or hear any rubbing, you need to re-secure your decorations. It’s much better to find a loose wire in your hallway than it is to find it while you’re crossing a busy intersection in Chelsea.
The Weight Balance
Adding weight to a bike changes how it handles. If you strap a massive, heavy decoration to one side of your handlebars, your bike will constantly pull in that direction. This can be exhausting and dangerous when navigating tight gaps in traffic. Try to keep your decorations symmetrical. If you have a heavy battery pack for your lights, mount it centrally on the top tube or inside a frame bag to keep your center of gravity low and stable.
Visibility vs. Distraction
The goal of decorating is often to be seen and to spread some cheer, but there is a fine line between being visible and being a distraction. Avoid using high intensity strobe lights that might blind oncoming cyclists or drivers. Instead, aim for a steady glow. Also, ensure that your decorations don’t obscure your actual safety lights. Your decorative purple fairy lights are fun, but they are not a replacement for a high quality, legally required white front light and red rear light.
Testing the Full Rotation
London weather is notoriously fickle. If your decorations are made of cardboard or non waterproof fabric, they will turn into a soggy, heavy mess within ten minutes of a downpour. Not only does this look sad, but wet cardboard can tear away from its zip ties and fall into your wheels. Stick to plastic, waterproof LEDs, and synthetic fabrics that won’t absorb water.
Ride With Care
When you finally take your masterpiece out on the road, remember that you are wider and heavier than usual. Give yourself extra braking distance and take corners a little slower. People will likely be looking at you, which is great for smiles per mile, but it also means you need to be extra predictable in your movements. Cycling in London is all about community and expression. Whether it’s a charity ride or just a bit of seasonal fun, a decorated bike brings a smile to everyone’s face. By taking the extra twenty minutes to properly secure your gear, you ensure that the only thing people remember is how great your bike looked not the time you had to call a mechanic because a tinsel garland ate your derailleur. If you ever find yourself unsure about the mechanical safety of your additions, or if your festive spirit resulted in a few mysterious clanking sounds you can’t quite figure out, the team at Chelsea Bikes is always there to help get your ride back in peak safe condition.