What to Do When You Get a Puncture on Your Way to Work
A puncture is one of those problems that can turn an ordinary cycle to work into a frustrating morning. One minute, you are making good progress, and the next, your bicycle feels difficult to control or the tyre starts losing air. If you are already running late, it can be tempting to keep riding and hope the problem goes away. However, riding on a flat tyre can damage the wheel and make the journey less safe.
The good news is that most bicycle punctures can be dealt with using a few basic tools and a little preparation. Knowing what to do can save time, reduce stress and help you get back on the road without relying on someone else to fix the problem.
- Stop Somewhere Safe
As soon as you notice that a tyre is losing air, slow down carefully and find a safe place to stop. Avoid sudden braking or sharp turns, particularly if the front tyre is affected, as a soft tyre can make the bicycle harder to control.
If you are riding on a busy road, move away from traffic when it is safe to do so. A quiet pavement or suitable space away from moving vehicles is a better place to inspect your bicycle than the roadside beside fast-moving traffic.
Once you have stopped, check which tyre has the puncture. Look for a visibly flat tyre, a nail or piece of glass in the rubber, or a tyre that feels unusually soft when pressed gently.
Do not continue riding on a flat tyre. Doing so can damage the inner tube, tyre and wheel rim, potentially turning a simple repair into a more expensive job.
- Check Whether You Can Repair It Yourself
Before taking the wheel off, have a quick look at the tyre. Sometimes, the cause of the puncture is easy to spot. A small piece of glass, a thorn or a sharp metal object may be stuck in the rubber.
Do not pull out an embedded object until you are ready to inspect and repair the tyre, as removing it may allow the remaining air to escape quickly. Be careful when handling anything sharp.
If the tyre is completely flat, the sidewall is damaged, or you notice a large cut, a roadside repair may not be enough. In that situation, arrange alternative transport or seek help from a bicycle repair shop.
A small puncture is often manageable with a repair kit. However, the right approach depends on the type of tyre, the damage and the tools you have available.
- Keep a Small Puncture Repair Kit with You
A little preparation can make a significant difference when a puncture happens during the morning commute. You do not need to carry a large toolbox, but a few useful items can help you deal with common problems.
Your basic repair kit should include:
- Spare inner tube: Make sure it is the correct size for your wheel and compatible with your valve type.
- Tyre levers: These help remove the tyre from the rim without damaging it.
- Portable bicycle pump: Choose one that fits your valve and can reach the pressure required for your tyres.
- Puncture repair patches: Useful if you prefer repairing the existing inner tube rather than replacing it.
- Multi-tool: Helpful for minor adjustments, depending on your bicycle’s components.
- Disposable gloves: Optional, but useful if you want to keep grease and dirt off your hands.
Keep these items in a small saddle bag, frame bag or backpack. Once you have the equipment ready, you will not need to search for supplies when you are already late for work.
- Remove the Wheel Carefully
If you have the correct equipment and enough space to work safely, the next step is to remove the affected wheel.
For a rear-wheel puncture, shift the chain onto the smallest rear sprocket before removing the wheel, if possible. This can make the job easier. Follow your bicycle manufacturer’s instructions for releasing the wheel, whether it uses a quick-release mechanism, a thru-axle or wheel nuts.
If your bicycle has rim brakes, you may need to release the brake mechanism to allow the tyre to pass through. Disc-brake bicycles usually do not require the brake pads to be opened for wheel removal, but take care not to squeeze the brake lever while the wheel is out. On hydraulic disc brakes, squeezing the lever without a rotor or suitable spacer in place can cause the brake pistons to move together.
Electric bikes and bicycles with hub motors or unusual wheel fittings maytter to seek professional assistance. require additional care. If you are unsure how to remove the wheel safely, it is be
Place the wheel on a clean surface and keep small parts somewhere they will not get lost.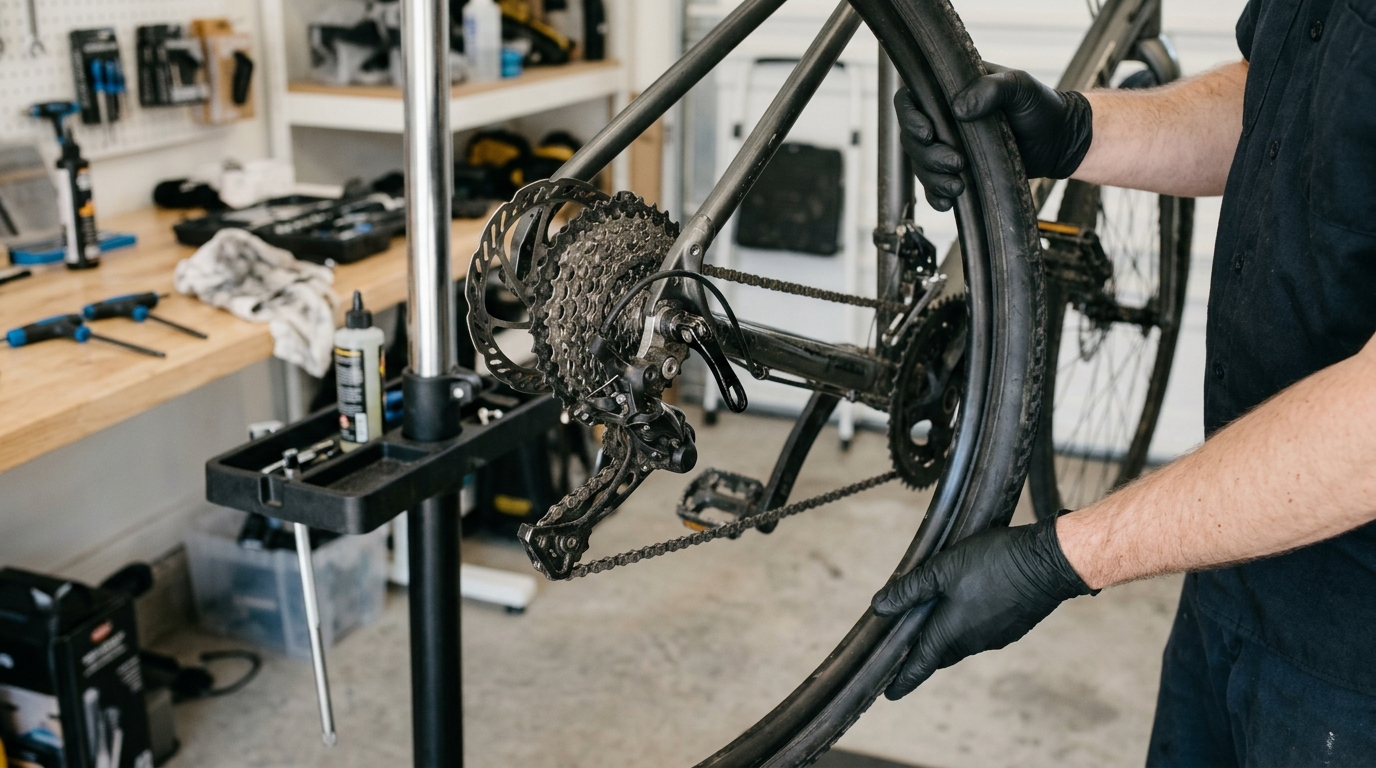
- Remove the Inner Tube and Find the Cause
Once the wheel is removed, release any remaining air from the inner tube. Use tyre levers to lift one side of the tyre over the rim, working around the wheel until you can access the tube.
Carefully pull the inner tube out, leaving the tyre in place for inspection. If you can see a thorn or piece of glass, remove it cautiously. Run your fingers carefully over the inside of the tyre only when you can do so safely; sharp objects may cause cuts. A visual inspection is often the safer option.
Check the tyre for cuts, embedded debris and damage to the tread or sidewall. Also inspect the rim tape, which covers the spoke holes inside the rim. Damaged or displaced rim tape can expose the inner tube to sharp edges and cause repeated punctures.
Finding the cause matters. If you replace the inner tube without removing the object that caused the puncture, the replacement may go flat as well.
- Replace or Patch the Inner Tube
For a quick roadside repair, fitting a spare inner tube is often the easiest option.
First, add a little air to the replacement tube so it takes shape. This makes it easier to position without twisting or trapping it. Insert the valve through the hole in the rim, then tuck the inner tube inside the tyre.
Work the tyre bead back onto the rim using your hands wherever possible. Avoid forcing tyre levers against the tube, as this can create another puncture before you have even started riding again.
If you do not have a spare tube, you may be able to patch the damaged one. Follow the instructions supplied with your repair kit. Traditional patches generally require the punctured area to be cleaned, dried, lightly roughened and covered with the appropriate adhesive before the patch is applied. Self-adhesive patches follow a different process, so check the manufacturer’s directions.
Patching can be a useful solution for a small hole, but a torn valve area, large split or badly damaged tube may need replacing.
- Inflate the Tyre to the Correct Pressure
After fitting the tube and seating the tyre correctly, inflate it using your portable pump. Check that the tyre bead sits evenly around both sides of the rim before reaching the full riding pressure.
Use the pressure range marked on the tyre sidewall and follow any relevant tyre and rim manufacturer recommendations. The best pressure depends on tyre width, rider weight, luggage and riding conditions, so there is no single pressure that suits every bicycle.
Avoid inflating the tyre beyond its permitted limit. If you have a pressure gauge, use it to check the result rather than relying only on how firm the tyre feels.
Before setting off, check that the wheel is properly secured and spins freely. If you removed the wheel from a bicycle with rim brakes, make sure the brake is reconnected and working correctly. On a disc-brake bicycle, confirm that the wheel is seated correctly and the brake works as expected.
Take a moment to test the brakes before riding away.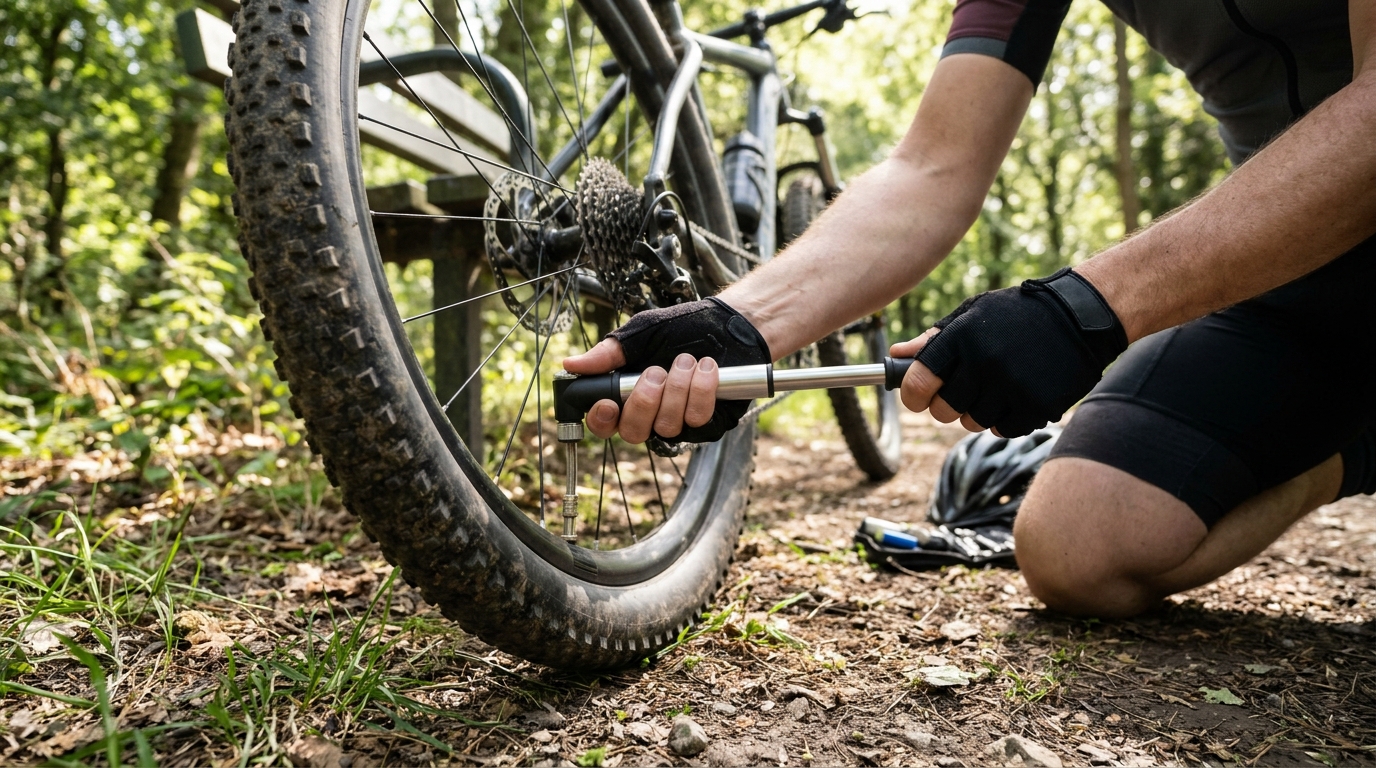
- What If You Cannot Fix the Puncture?
Not every puncture can be repaired at the roadside. You may discover a damaged tyre, a broken valve, a badly bent wheel or a problem with the wheel fittings. You might also lack the tools needed to remove the wheel.
If that happens, do not feel that you must complete the repair yourself. Secure your bicycle and consider walking it to a nearby repair shop, contacting a bicycle recovery service if available, or using public transport where permitted.
If you commute regularly, it can be worth checking which bicycle repair shops are located along your route. Knowing where to get help before a problem occurs can make a difficult morning much easier to manage.
If you use an electric bicycle, follow the manufacturer’s instructions before attempting repairs, particularly if the wheel contains electrical connections or a hub motor.
- Reduce the Risk of Future Punctures
You cannot prevent every puncture, but a few simple habits can reduce the chances of being caught out.
Check your tyre pressure regularly, especially before longer rides. Underinflated tyres can be more vulnerable to pinch punctures when the wheel hits a pothole or sharp edge. Over inflation is not the answer either, as it can reduce comfort and may affect grip.
Inspect your tyres for cuts, worn tread and embedded debris. Replace tyres that are badly worn or damaged, and consider puncture-resistant tyres if your commute involves rough roads or frequent debris.
Where practical, avoid riding directly through broken glass, potholes and sharp roadside debris. Keep your bicycle maintained and check that the wheels, brakes and tyres are in good condition.
Finally, carry a spare tube and pump, and practise changing an inner tube at home. The first attempt is much easier when you are not standing beside a road with a clock ticking.
Final Thoughts
A puncture on your way to work can be inconvenient, but it does not have to ruin the whole day. Finding a safe place to stop, identifying the cause, carrying the right equipment and knowing how to replace or repair an inner tube can help you deal with the problem calmly. If the damage is too serious or you are unsure about the repair, getting professional help is the safest choice. For practical cycling advice, bicycle maintenance and help choosing the right equipment for your daily commute, Chelsea Bikes can help you prepare for your next ride and make cycling to work a little less stressful.