A Simple Weekly Bike Cleaning Routine
A clean bike is a happier bike. You do not need to spend hours in the garage every weekend or buy a cupboard full of specialist products to keep your bicycle looking good and working properly. A simple weekly cleaning routine can make a noticeable difference to how your bike feels on the road and can also help eyou spot small problems before they turn into expensive repairs.
For cyclists riding around London, regular cleaning is especially useful. Roads can leave bikes covered in dust, grit, rainwater, mud and general grime. Even a short commute can put plenty of dirt around the chain, gears, brakes and wheels. The good news is that a basic clean does not take long once you get into the habit.
Here is a straightforward weekly routine that can work for commuters, recreational riders and anyone who wants to take better care of their bike.
Why Clean Your Bike Every Week?
Cleaning your bike is about more than making it look nice. Dirt and grit can work their way into moving parts and increase wear over time. A dirty drivetrain, for example, can become less efficient and may cause the chain, cassette and chainrings to wear faster.
Regular cleaning also gives you an opportunity to inspect your bike. While wiping down the frame, you might notice a loose bolt, worn brake pad, damaged tyre or rusty component that needs attention.
You do not necessarily have to clean your bike after every ride. For many cyclists, one proper clean each week is enough, with quick wipe-downs after particularly wet or muddy rides.
What You Need Before You Start
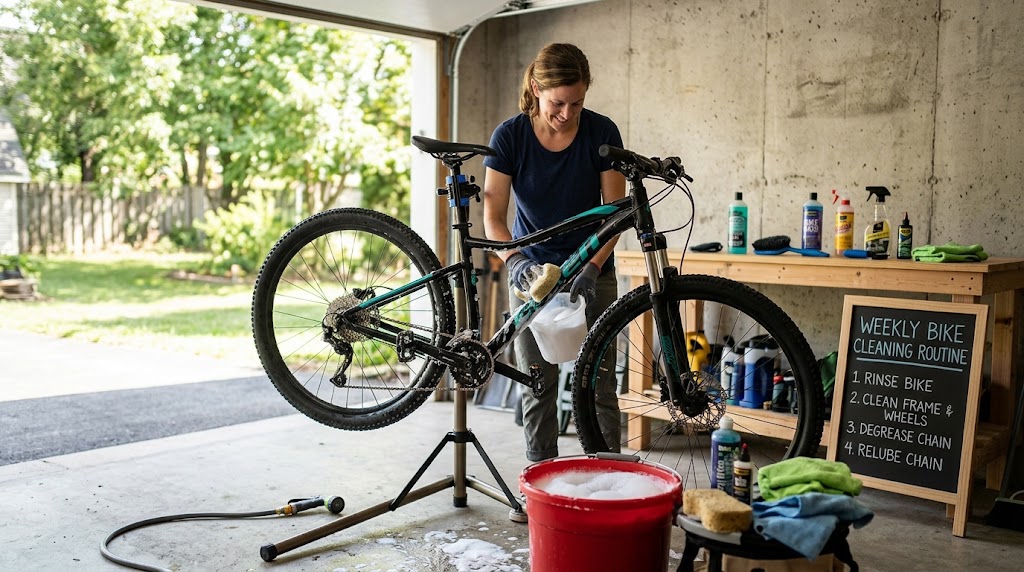
You can keep your cleaning kit fairly simple. A few useful items include:
- A bucket of warm water
- Bicycle-friendly cleaning solution
- A soft sponge or cloth
- An old toothbrush or small cleaning brush
- A larger brush for tyres and frame areas
- Clean microfibre cloths
- Bicycle chain degreaser
- Bicycle-specific chain lubricant
- A hose or clean water for rinsing, if available
You do not need expensive equipment. In fact, a good collection of basic brushes and cloths can be more useful than buying specialist tools that you rarely use.
It is also a good idea to clean your bike somewhere suitable. If possible, choose an outdoor area where water can drain away easily. Avoid cleaning directly on delicate indoor flooring, particularly when using degreaser.
Step 1: Give the Bike a Quick Inspection
Before adding water, take a minute to look over the bike.
Check the tyres for obvious damage, look at the brake pads and inspect the chain. Spin the wheels and listen for anything unusual. Check whether the gears appear to be working normally and look for loose accessories or bolts.
This quick inspection is easy to overlook, but it can save you from discovering a problem halfway through your next ride.
If something looks damaged or does not feel right, cleaning the bike should not be treated as a replacement for proper maintenance. Some problems are better handled by a qualified bicycle mechanic.
Step 2: Remove Loose Dirt
Start with the driest and easiest dirt first.
Use a soft brush or cloth to remove loose dust, mud and grit from the frame, wheels and other accessible areas. Pay attention to the underside of the frame, fork, stays and around the wheels.
If your bike has been through wet or muddy conditions, allow heavy mud to loosen naturally rather than attacking it with a hard brush. Scrubbing aggressively can move grit across the paintwork and potentially leave marks.
Take your time around the drivetrain. Dirt tends to collect around the chain, cassette and jockey wheels, so these areas deserve particular attention.
Step 3: Wash the Frame
Now mix your bicycle cleaning solution with warm water according to the product instructions.
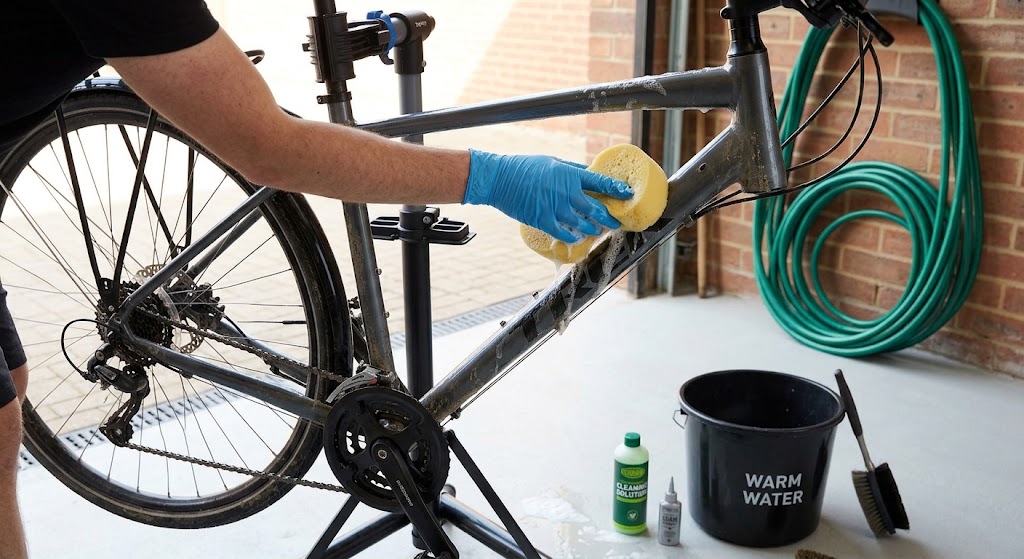
Dip a soft sponge into the water and gently clean the frame from top to bottom. Work around the handlebars, fork, seat tube, stays and other areas where road grime has collected.
Keep the sponge reasonably clean as you work. If it becomes covered in grit, rinse it before continuing. You want to remove dirt rather than rub it back across the frame.
Be careful around bearings, seals and electrical components on e-bikes. There is no need to flood these areas with water.
Step 4: Clean the Wheels and Tyres
Wheels collect a surprising amount of road dirt, particularly during wet weather.
Use your sponge to clean the rims and spokes, then give the tyres a gentle scrub. Look closely at the tyre surface while you clean it. Small cuts, embedded pieces of glass and other damage can sometimes be easier to spot when the tyre is clean.
If you ride a bike with rim brakes, pay attention to the braking surface. Dirt and debris can affect braking performance and may contribute to wear.
For bikes with disc brakes, avoid getting cleaning products or oily substances onto the brake rotor or pads.
Step 5: Give the Drivetrain Extra Attention
The drivetrain is one of the most important areas to clean because it deals with constant movement and friction.
Apply a suitable bicycle degreaser to the chain and use a brush to work through the links. You can also carefully clean the cassette, chainrings and jockey wheels.
There is no need to attack everything with excessive force. A few careful passes with a suitable brush can remove a considerable amount of grime.
After cleaning, rinse or wipe away the remaining dirt according to the instructions for the products you are using. The important part is making sure the drivetrain is clean and ready to be lubricated.
Step 6: Rinse Carefully
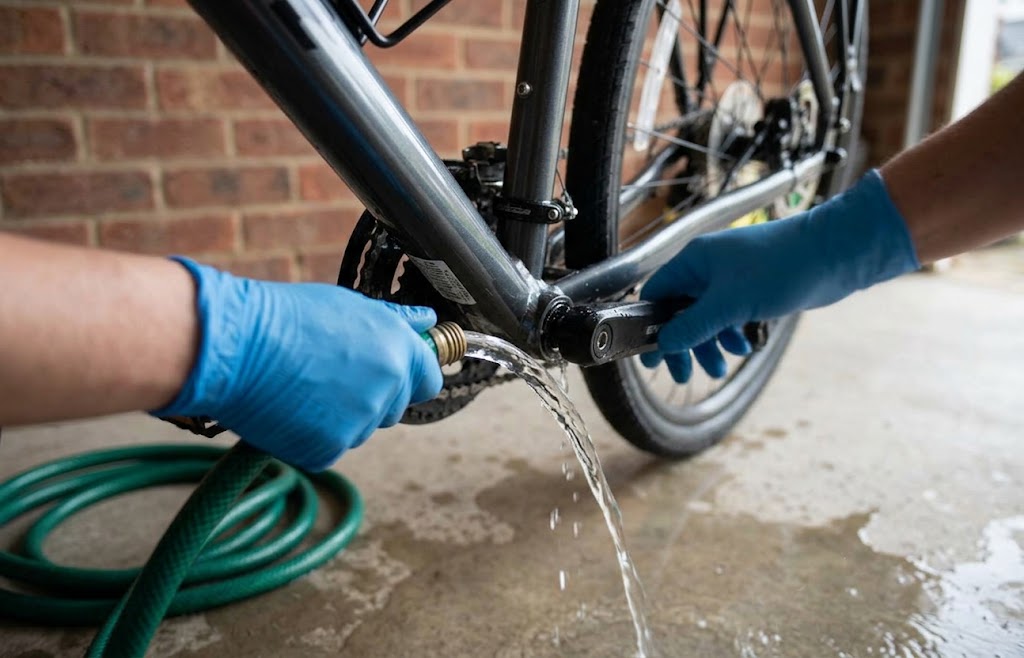
Once the main dirt has been removed, rinse the bike with clean water.
A gentle flow is preferable to high-pressure water. Strong pressure can force water and dirt into bearings, seals and other areas where you do not want them.
If you are using a hose, keep the pressure low and avoid directing water directly at hubs, bottom brackets, headsets and other bearing areas.
For a light weekly clean, you may not even need a hose. A clean damp cloth can be enough for many parts of the bike.
Step 7: Dry the Bike Properly
Drying is an important part of the routine.
Use clean microfibre cloths to wipe the frame, wheels and components. Pay attention to areas where water can sit, particularly around bolts, cable connections and underneath the frame.
If appropriate, gently rotate the pedals and wheels to help remove remaining water. On a geared bike, moving through the gears while stationary can also help you inspect whether everything is operating smoothly, but never put your hands near moving components.
Do not simply leave a wet bike sitting outside for hours. Regular exposure to moisture can contribute to corrosion and other problems, particularly on older bicycles.
Step 8: Lubricate the Chain
Once the chain is completely clean and reasonably dry, it is time for lubricant.
Apply a small amount of bicycle chain lubricant to the chain while slowly turning the pedals backwards. Try to place the lubricant on the chain links rather than covering the entire drivetrain.
More lubricant does not mean better lubrication. Excess oil can attract dust and grit, quickly creating another layer of grime.
After applying the lubricant, give it a little time to settle according to the product instructions. Then use a clean cloth to wipe away excess lubricant from the outside of the chain.
Choosing the right lubricant also matters. Wet lubricants can be useful in rainy conditions, while dry lubricants may suit cleaner and drier riding conditions. Always follow the manufacturer’s recommendations.
Step 9: Finish With a Quick Safety Check
Your weekly clean is a perfect opportunity for a final inspection.
Check that the tyres are properly inflated, the brakes operate correctly and the wheels are secure. Look at the chain, pedals and visible bolts. Make sure lights, mudguards, racks and other accessories are securely attached.
If your bike has gears, shift through them to make sure the drivetrain is behaving normally.
You do not need to dismantle the bicycle every week. The aim is simply to catch obvious problems early and keep the bike in good working order.
How Long Should a Weekly Clean Take?
For a bike that is only lightly dirty, around 20 to 30 minutes may be enough. A bike that has been ridden through heavy rain, mud or dirty roads could take longer.
The key is consistency.
A quick clean every week is usually much easier than allowing months of grime to build up and then trying to remove everything in one long session.
You can even make cleaning part of your weekend routine. Once you return from your final ride of the week, give the bike a quick wipe, clean the drivetrain and check the tyres and brakes. Over time, it becomes a normal part of owning a bicycle rather than a chore you keep putting off.
Common Bike Cleaning Mistakes to Avoid
There are a few simple mistakes worth avoiding.
Using household cleaning products without checking whether they are suitable for bicycles can damage certain finishes or components. Similarly, using too much degreaser can remove lubricant from areas where it is needed.
Another common mistake is using an aggressive pressure washer. It may make the bike look clean quickly, but forcing water into bearings can create problems later.
Finally, avoid applying lubricant without cleaning the chain first. Adding fresh oil over an old layer of oily dirt simply creates a sticky surface that attracts more grime.
Make Bike Cleaning Part of Your Routine
Bike maintenance does not have to feel complicated. A weekly clean, a quick inspection and proper chain lubrication can go a long way towards keeping your bicycle running smoothly.
The best routine is one that you can realistically maintain. You do not need to spend your entire Sunday cleaning every component. Focus on the frame, wheels, drivetrain and areas exposed to road dirt, then finish with a basic safety check.
A clean bike is also more enjoyable to ride. The drivetrain can feel smoother, the frame looks better and small problems are easier to spot. Most importantly, regular attention helps you understand your bicycle and notice when something starts to feel different.
If you are unsure about a repair, need professional servicing or want advice on keeping your bike in good condition, Camden Cycles can help you find the right maintenance solution for your bike and keep you ready for your next ride around London.